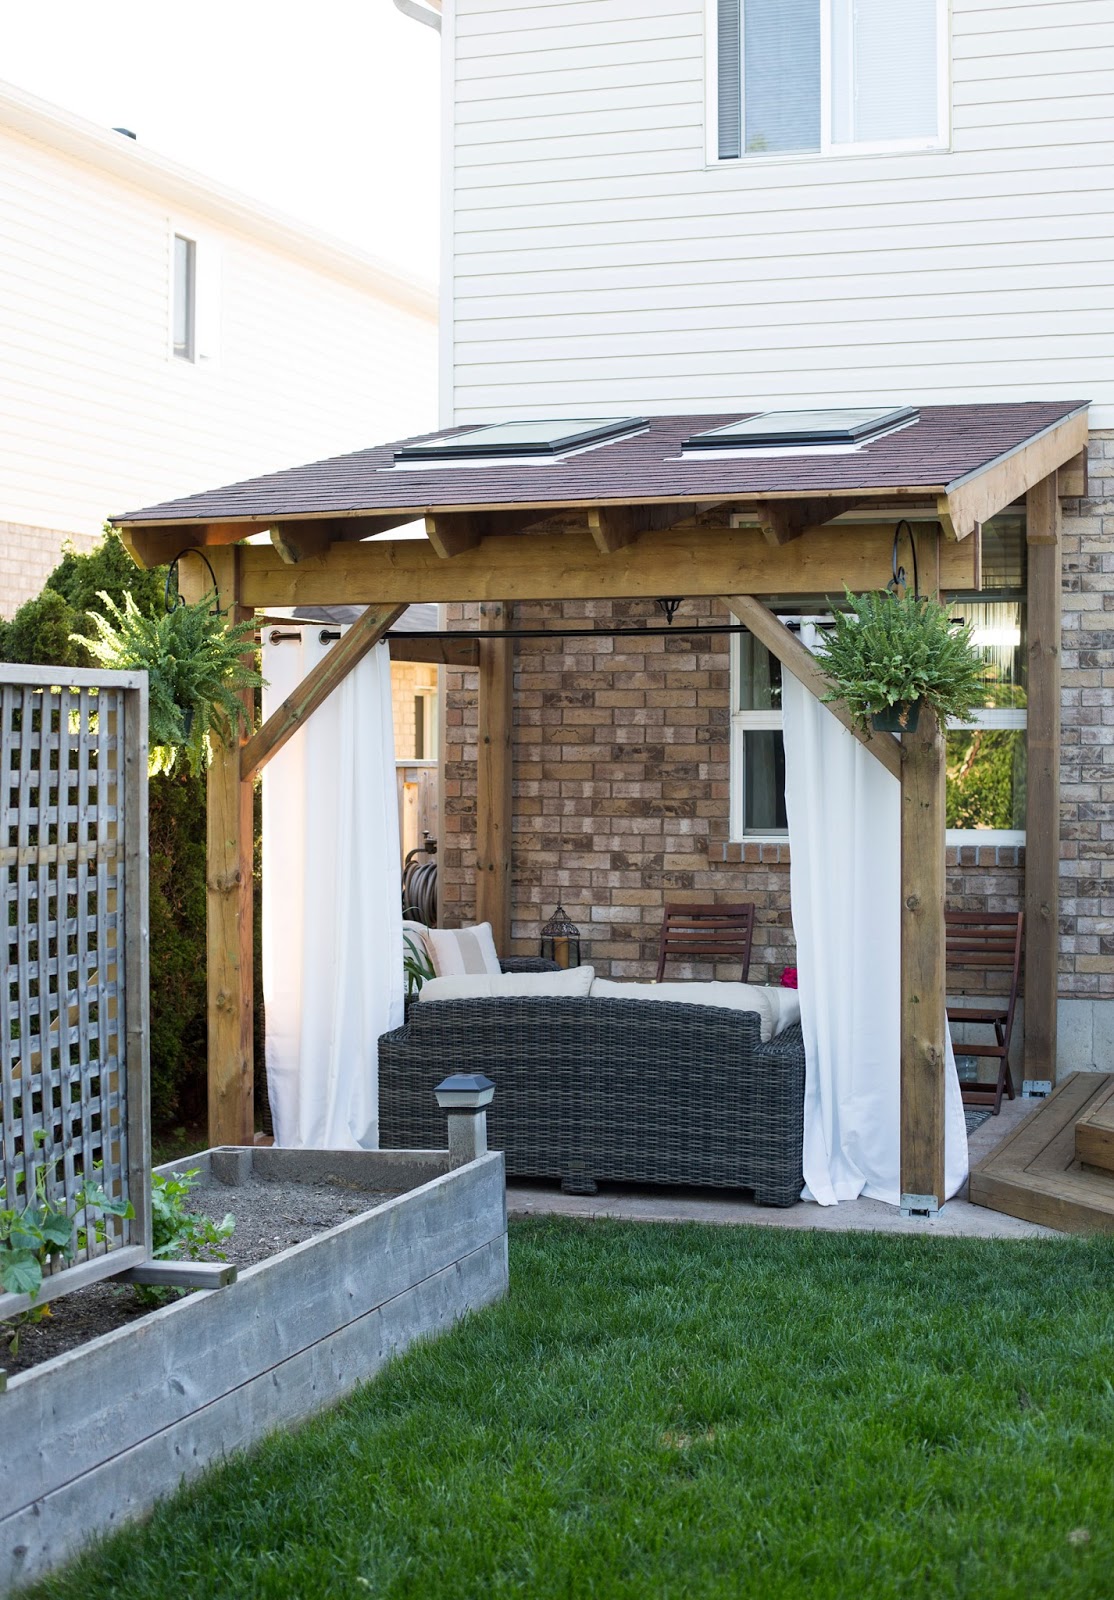
How to Build a Lean to Patio Cover
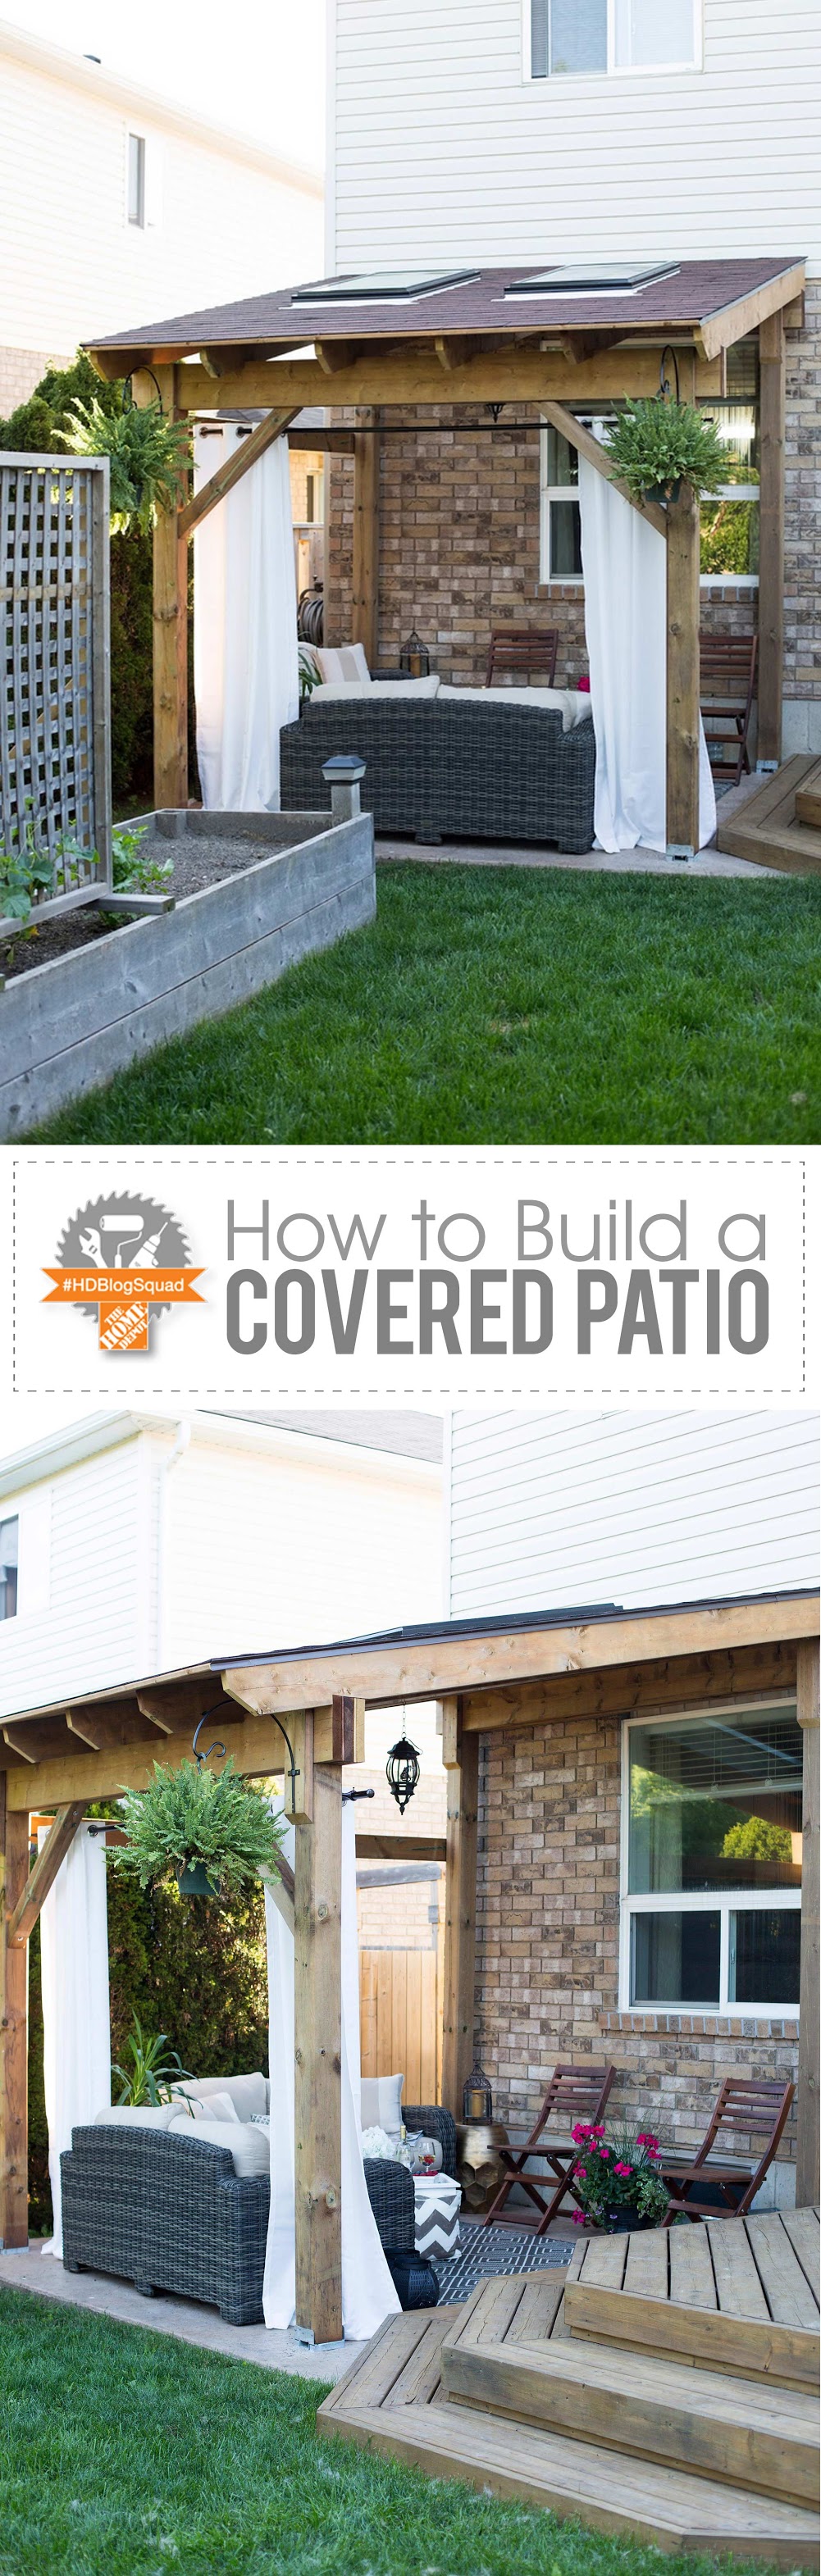
Like I mentioned on last night's live Periscope tour, I am overjoyed with how our new patio cover turned out! It's such a beautiful space that definitely adds to our "backyard appeal." It feels great knowing that space is finished and we have the entire summer to enjoy it! #BringOnTheBBQ's
Yesterday's post captured the majority of my feelings towards the backyard, and highlighted a lot of the DIY projects we've done to date. In this post I want to show you exactly what went into building the patio cover… and hopefully convince you that it's easy to take on a large backyard DIY project when you have the experts on your side.
So let's jump right back in! With project material list & sketch in hand, we visited our good friend David at the deck & fence design center. He reviewed our sketch, and after asking a few questions helped us order our materials. Because we needed a large amount of lumber we opted to order all of our materials at The Home Depot store and then have it shipped directly to our driveway (the $60 delivery charge was well worth it!). Once we had all the lumber and tools in hand we got down and dirty and started our project. While the instructions that follow are specific to our project, they will vary based on your patio project, plan and material list. Obviously you would want to do what works best in your backyard!

Building a Covered Patio
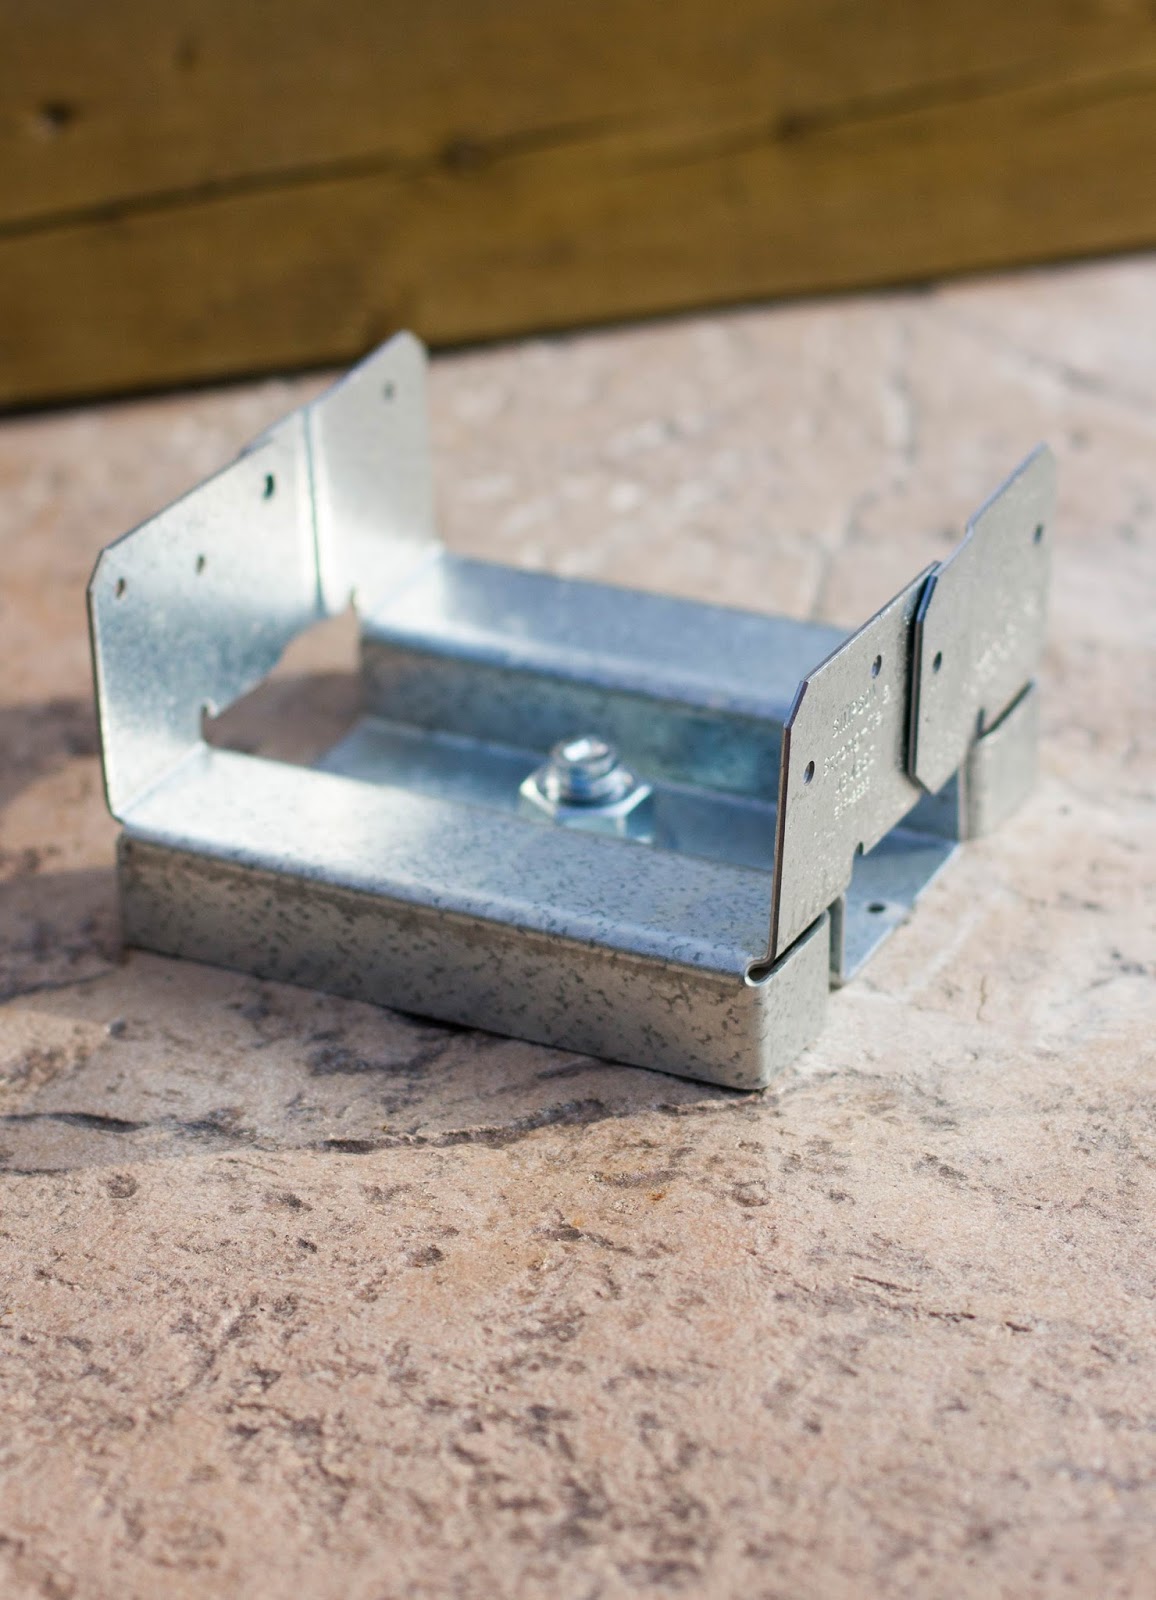
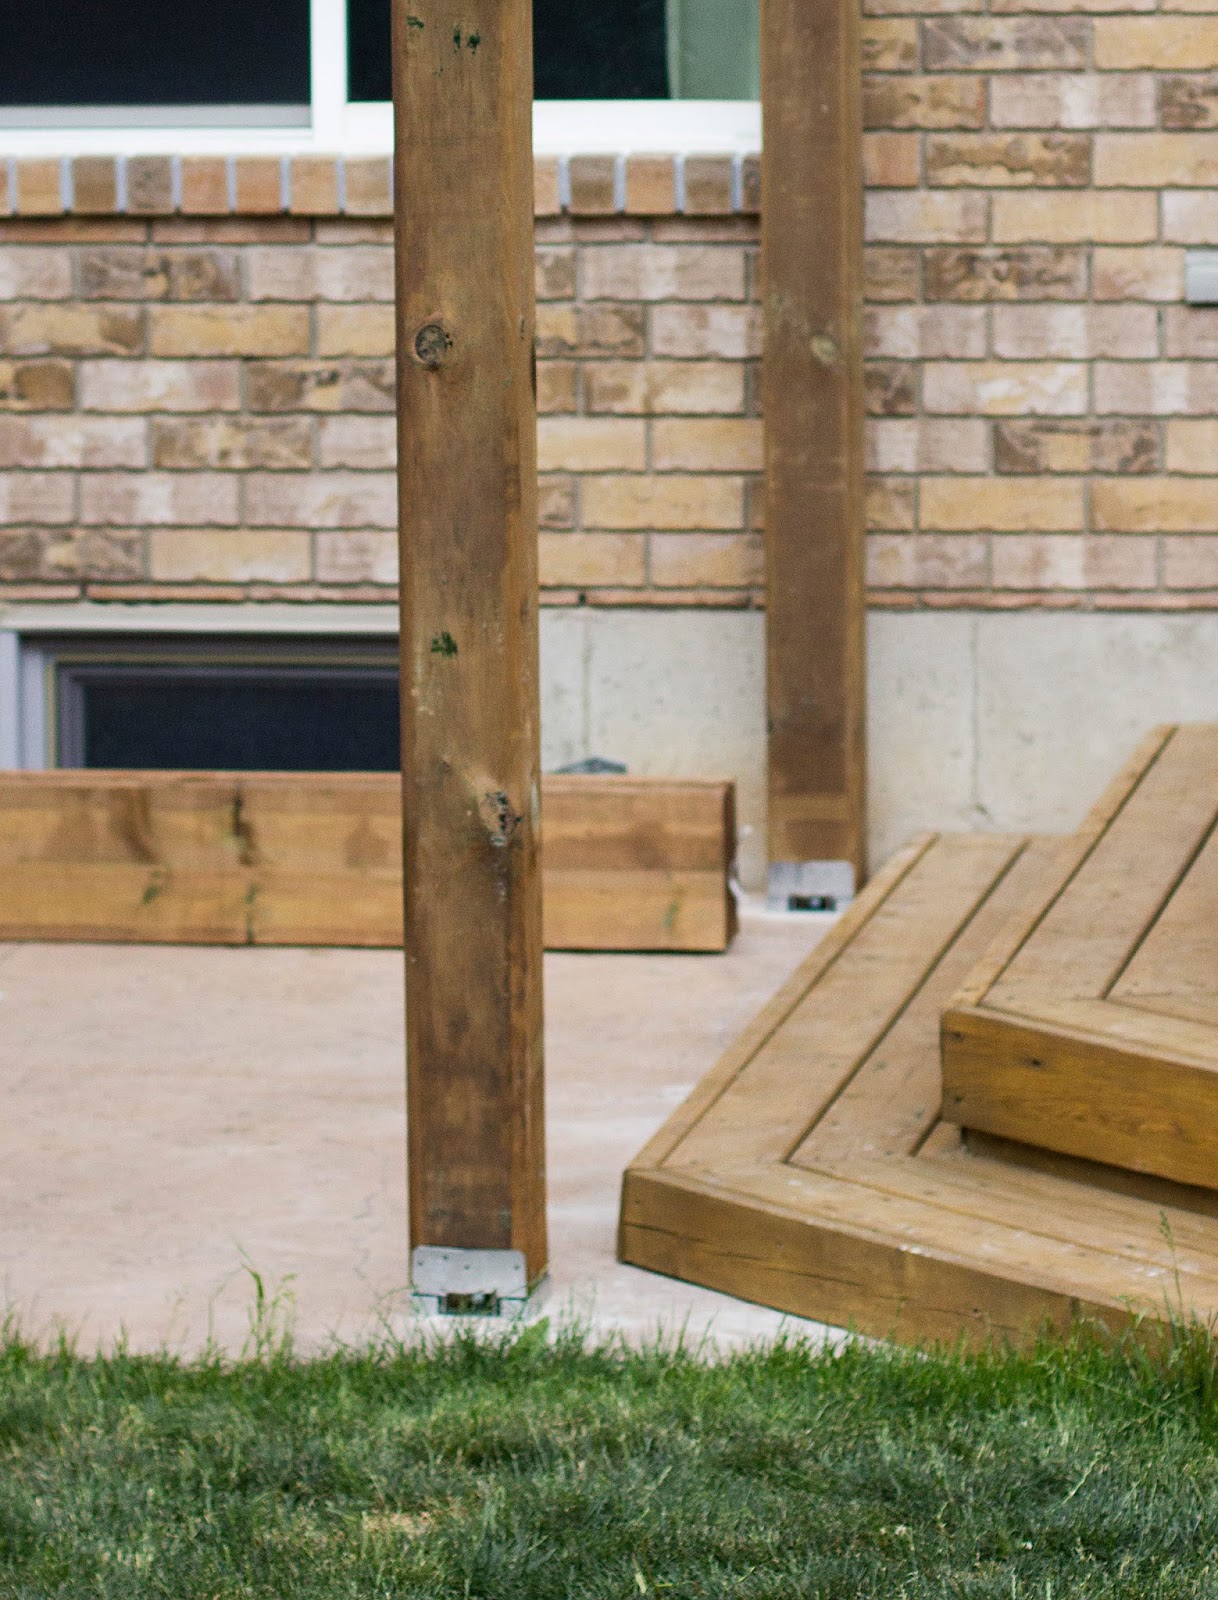
Step 1 // Install Anchors & Column Brackets
While this step could be done several different ways, "J" and I opted to use a post bracket & wedge anchor to tie the columns into our concrete pads. Using a drill bit we drilled a hole the length of our wedge anchor (4.5 inches) into the concrete. We then placed a 6×6 inch post bracket onto the top end of the wedge bolt. Using a hammer we gently tapped the bolt into the hole as far as it would go. Using a wrench we tightened the bolt so the clip on the bottom expanded. It's important to ensure it is tight as this is what will hold the bracket and columns in place.
Step 2 // Build the Header Beams
Ensuring the roof is stable and supported is also important when building a structure of this size. While three 11ft x 10in x 2in boards would have been sufficient, the thickness of the column and beam would not have matched up. By laminating the 11x10x2's together using two pieces of 1/2 inch plywood, we were able to make the beam the same thickness as the column. Just note, this step is purely for looks and doesn't necessarily contribute to the strength of the beam. While I would have loved to have shown you this process, "J" tackled this piece of the project while I was away in Nashville… and he forgot to take pictures!
Step 3 // Install the Columns
After we cut the columns to our desired height (7ft and 9ft), we carefully stood them up on end in the brackets. Using deck screws, we affixed the columns to the brackets.
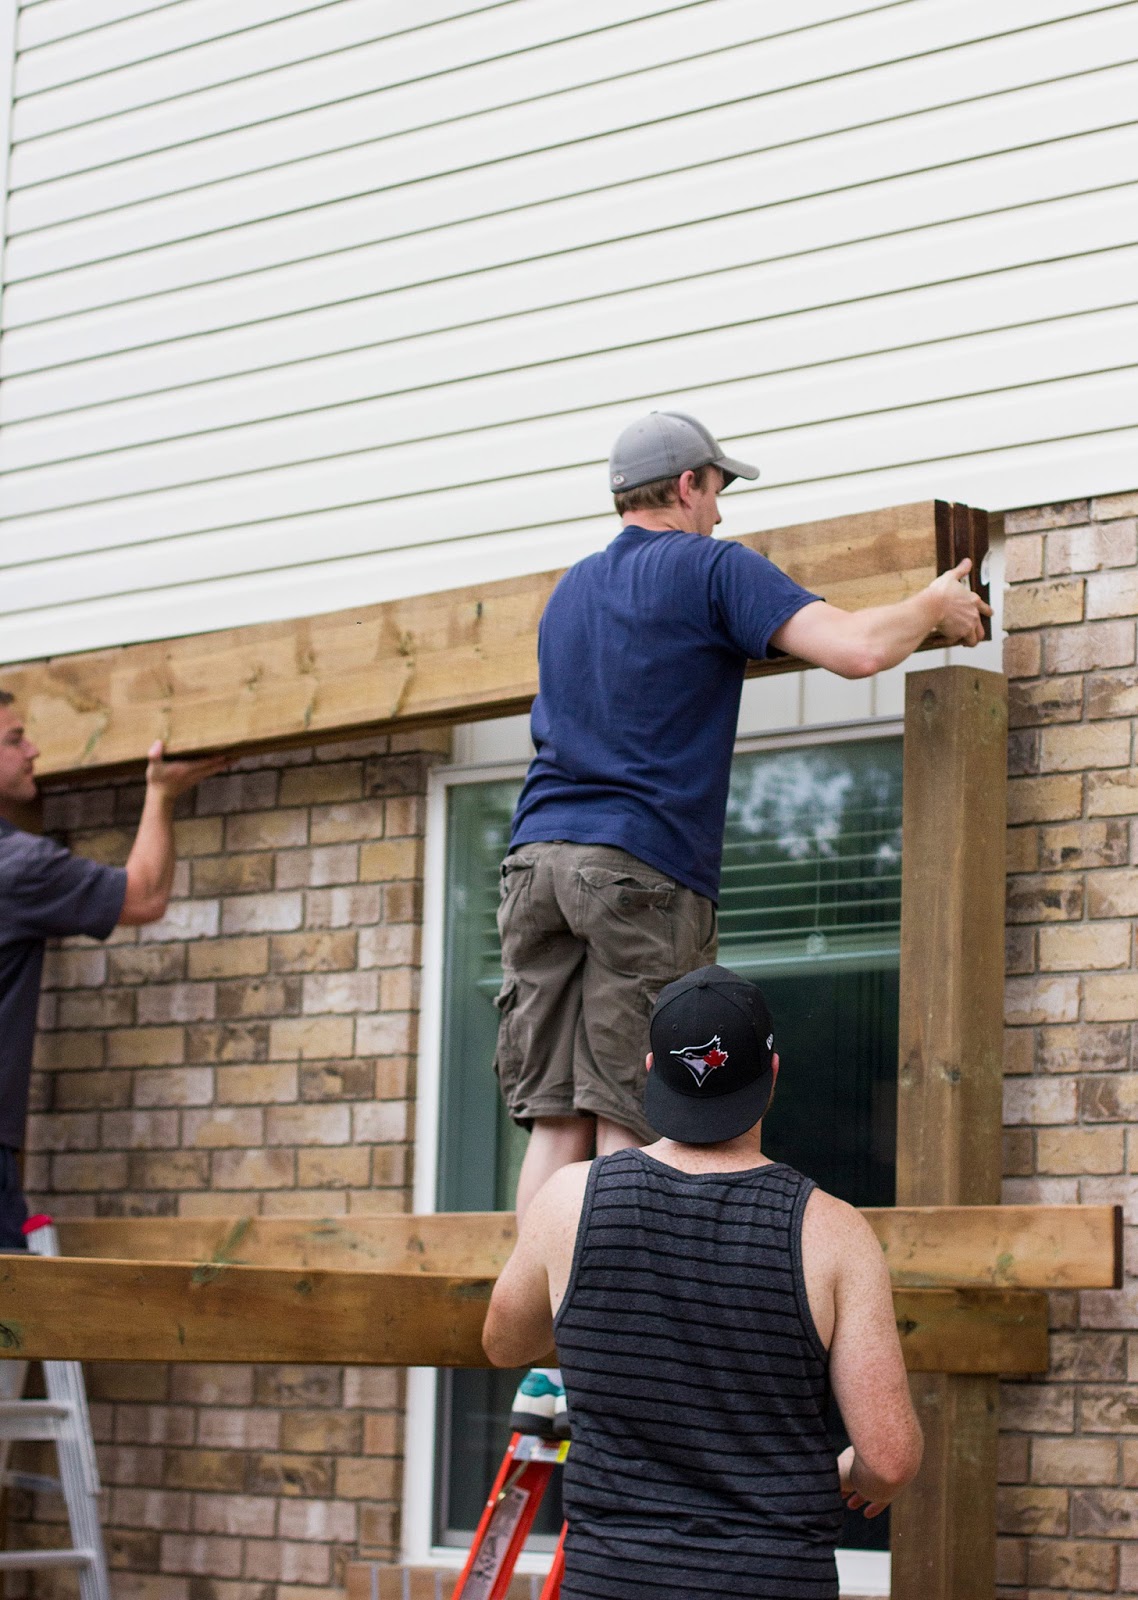
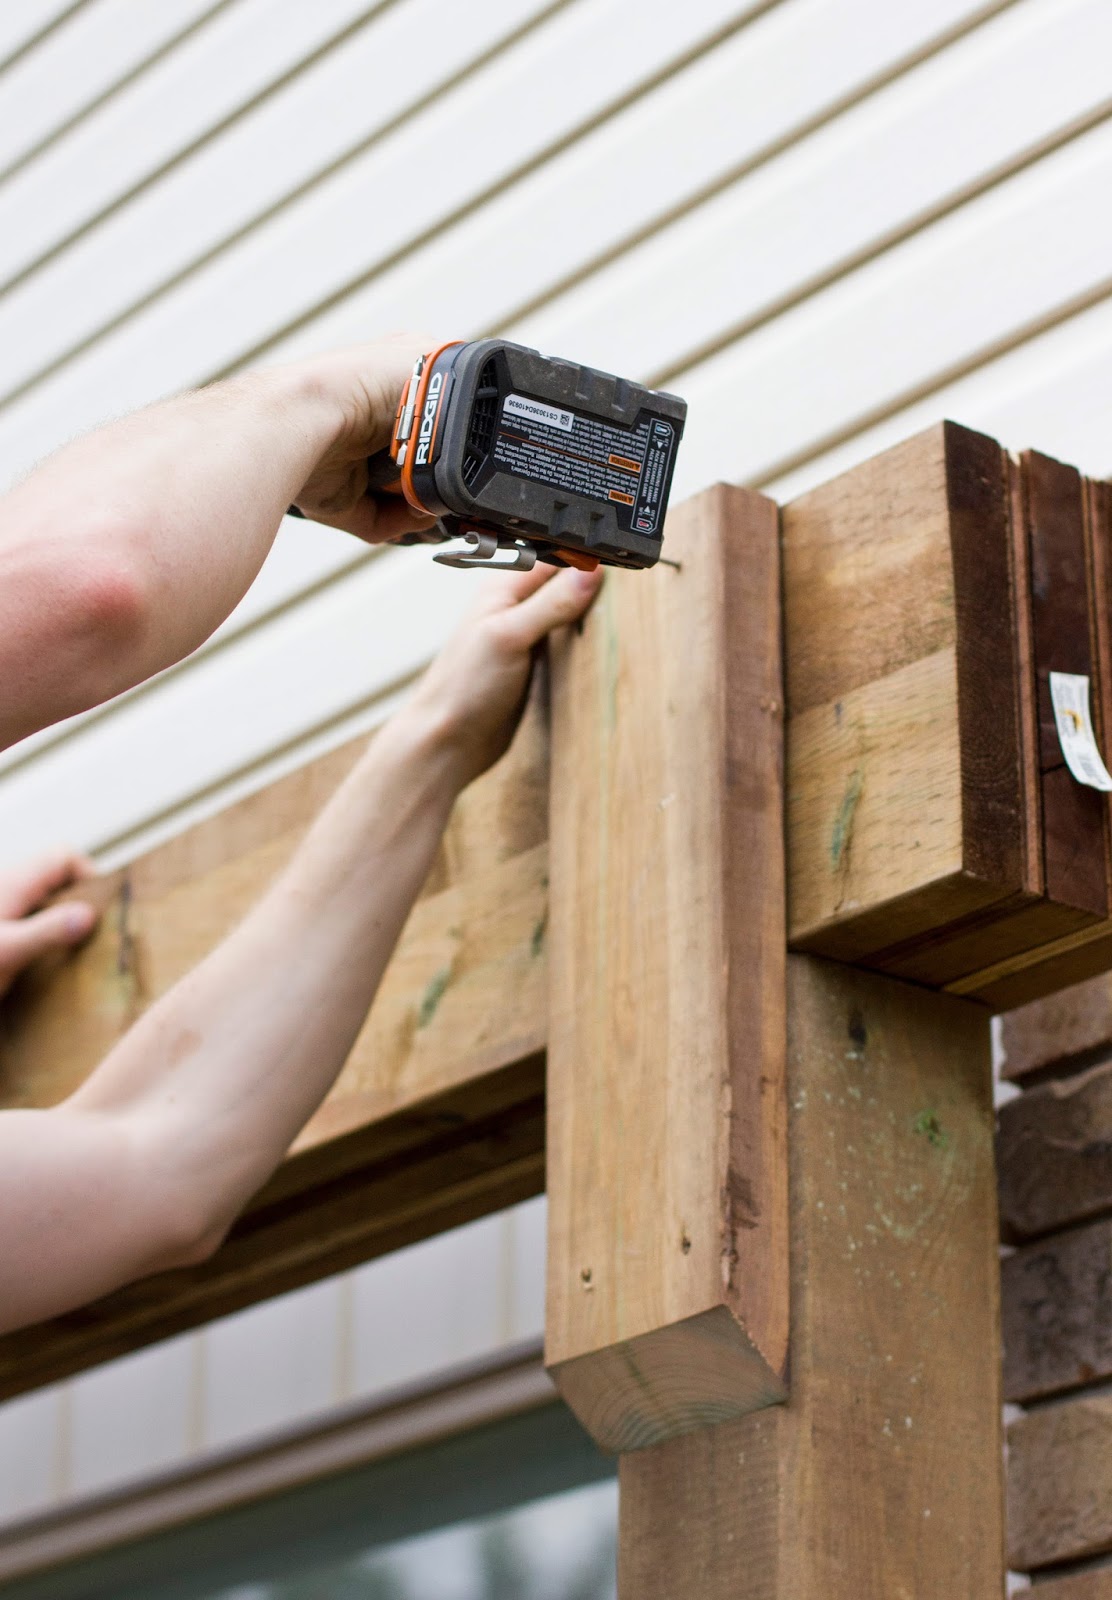
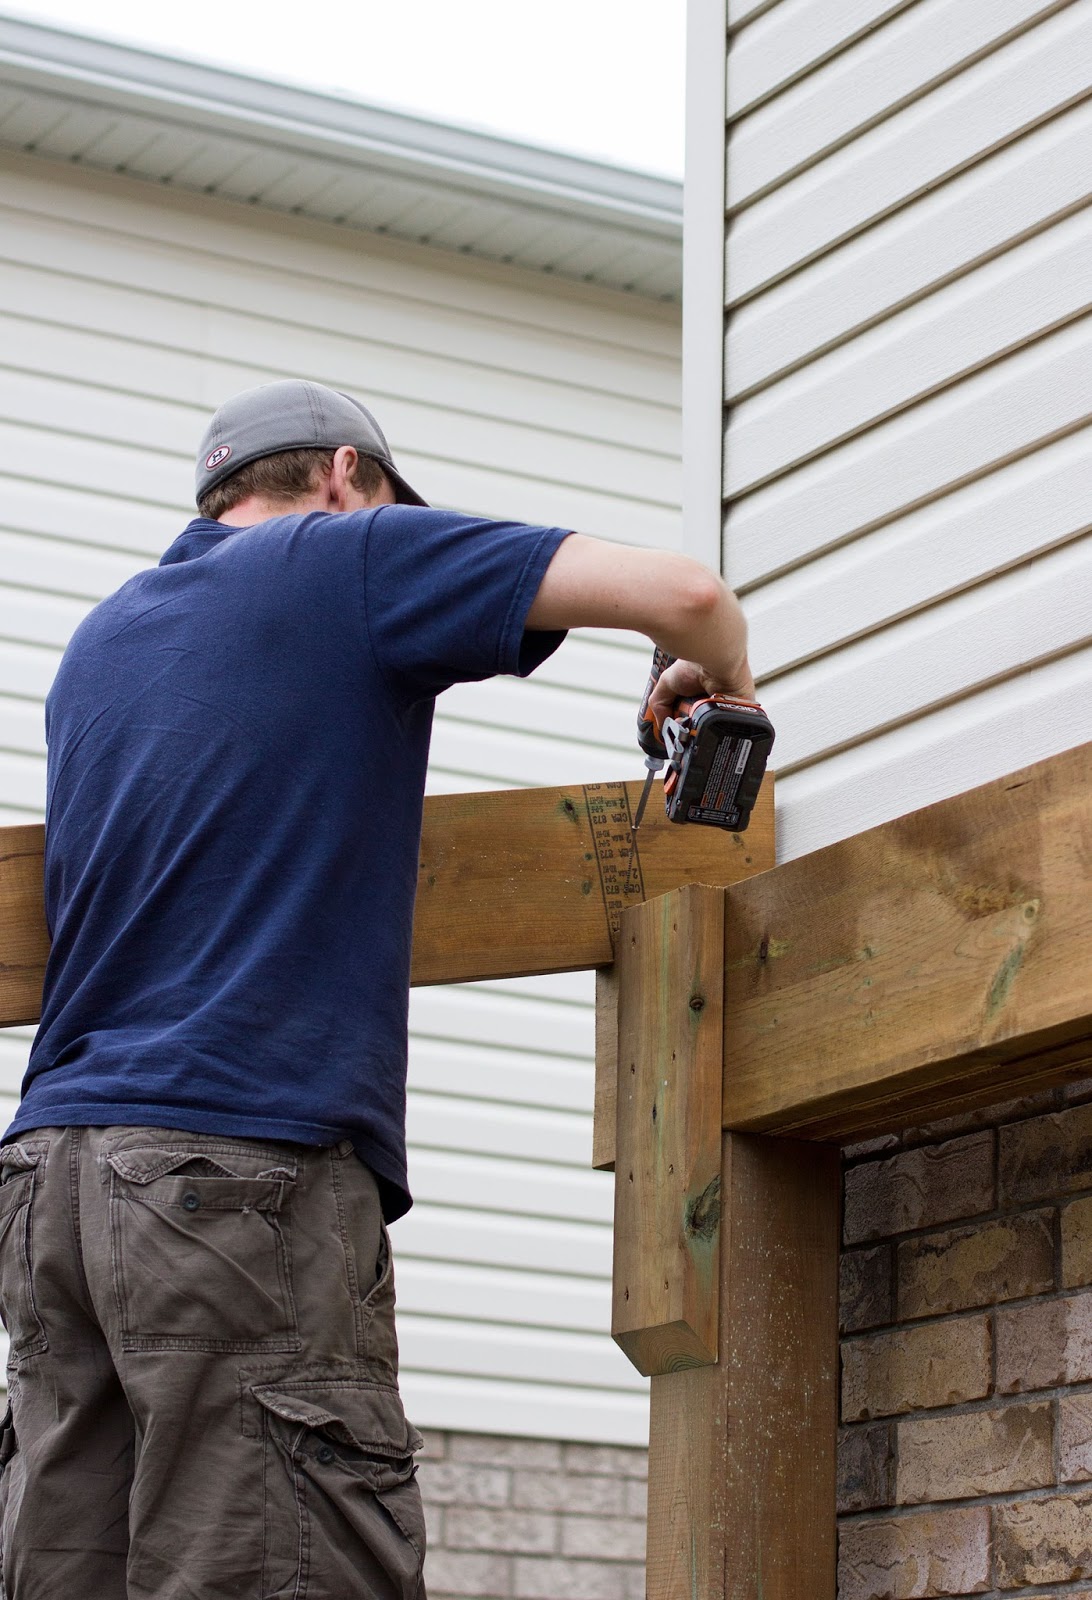
Step 4 // Install the Header Beams
This is where the heavy lifting came into play! The header beams easily weighed over 170lb. so we had to bring the muscle! It took two guys (and a spotter) to lift and place each header beam on top of the two columns (so they ran parallel to one another)! Of course one last "level" check is always advised before securing to each column using a 6×2.
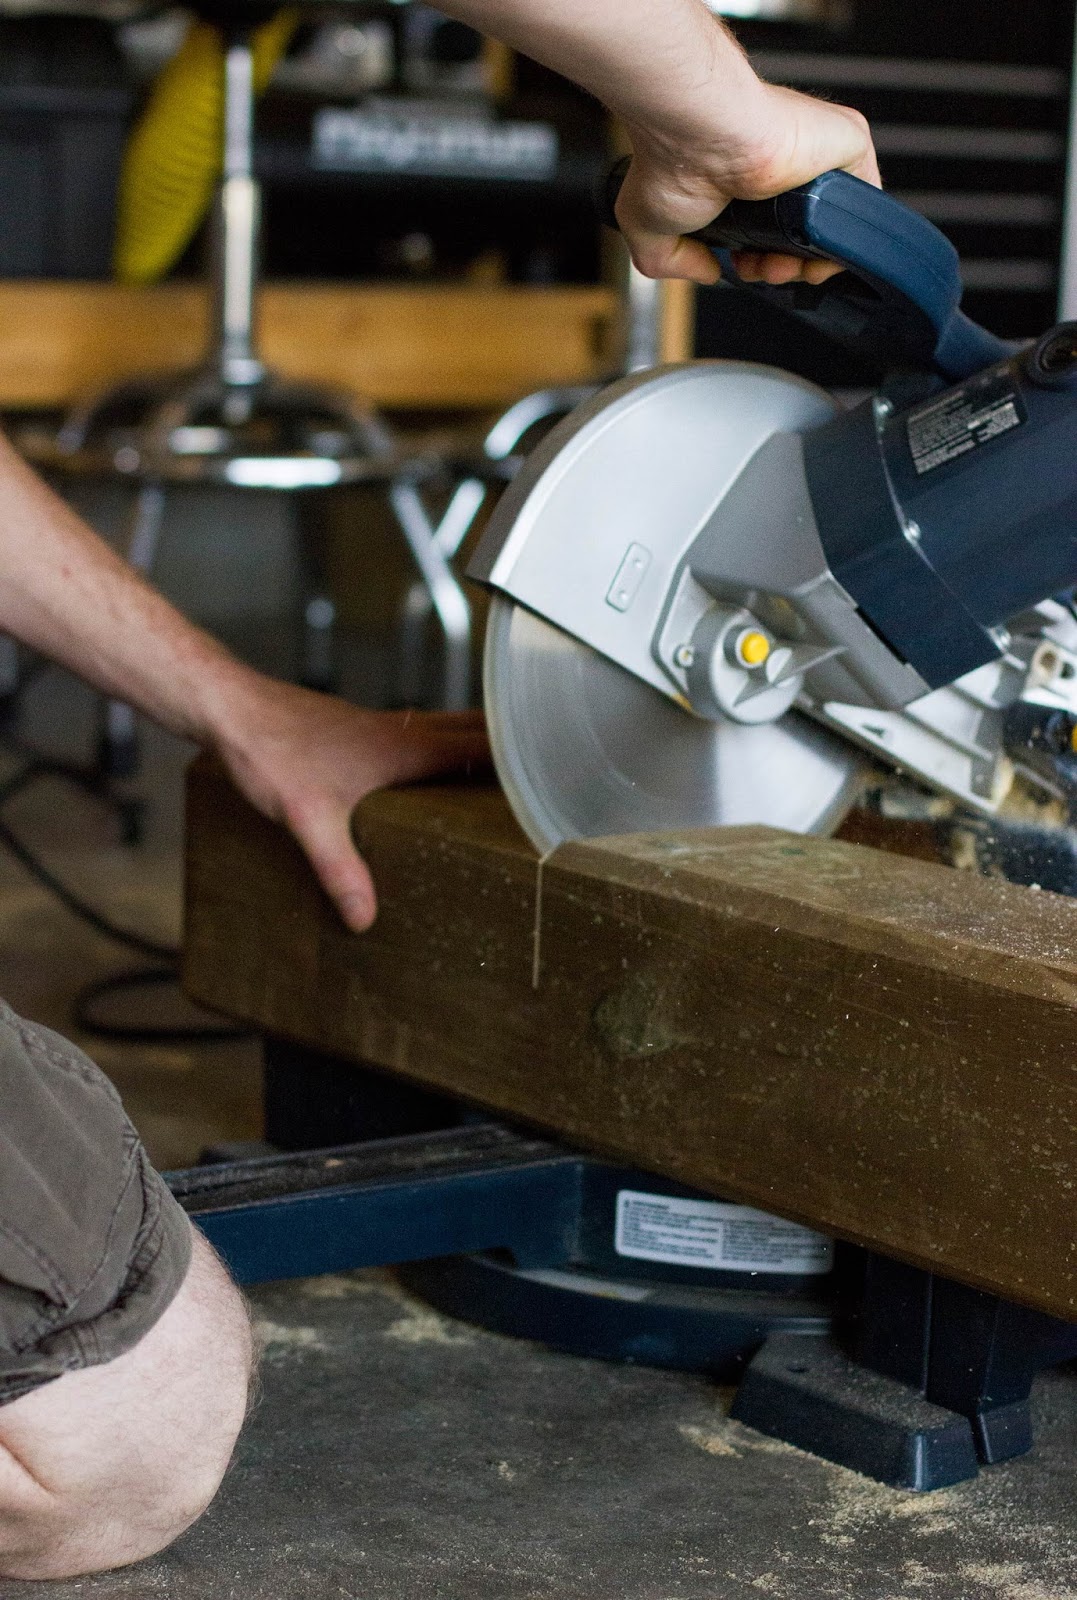
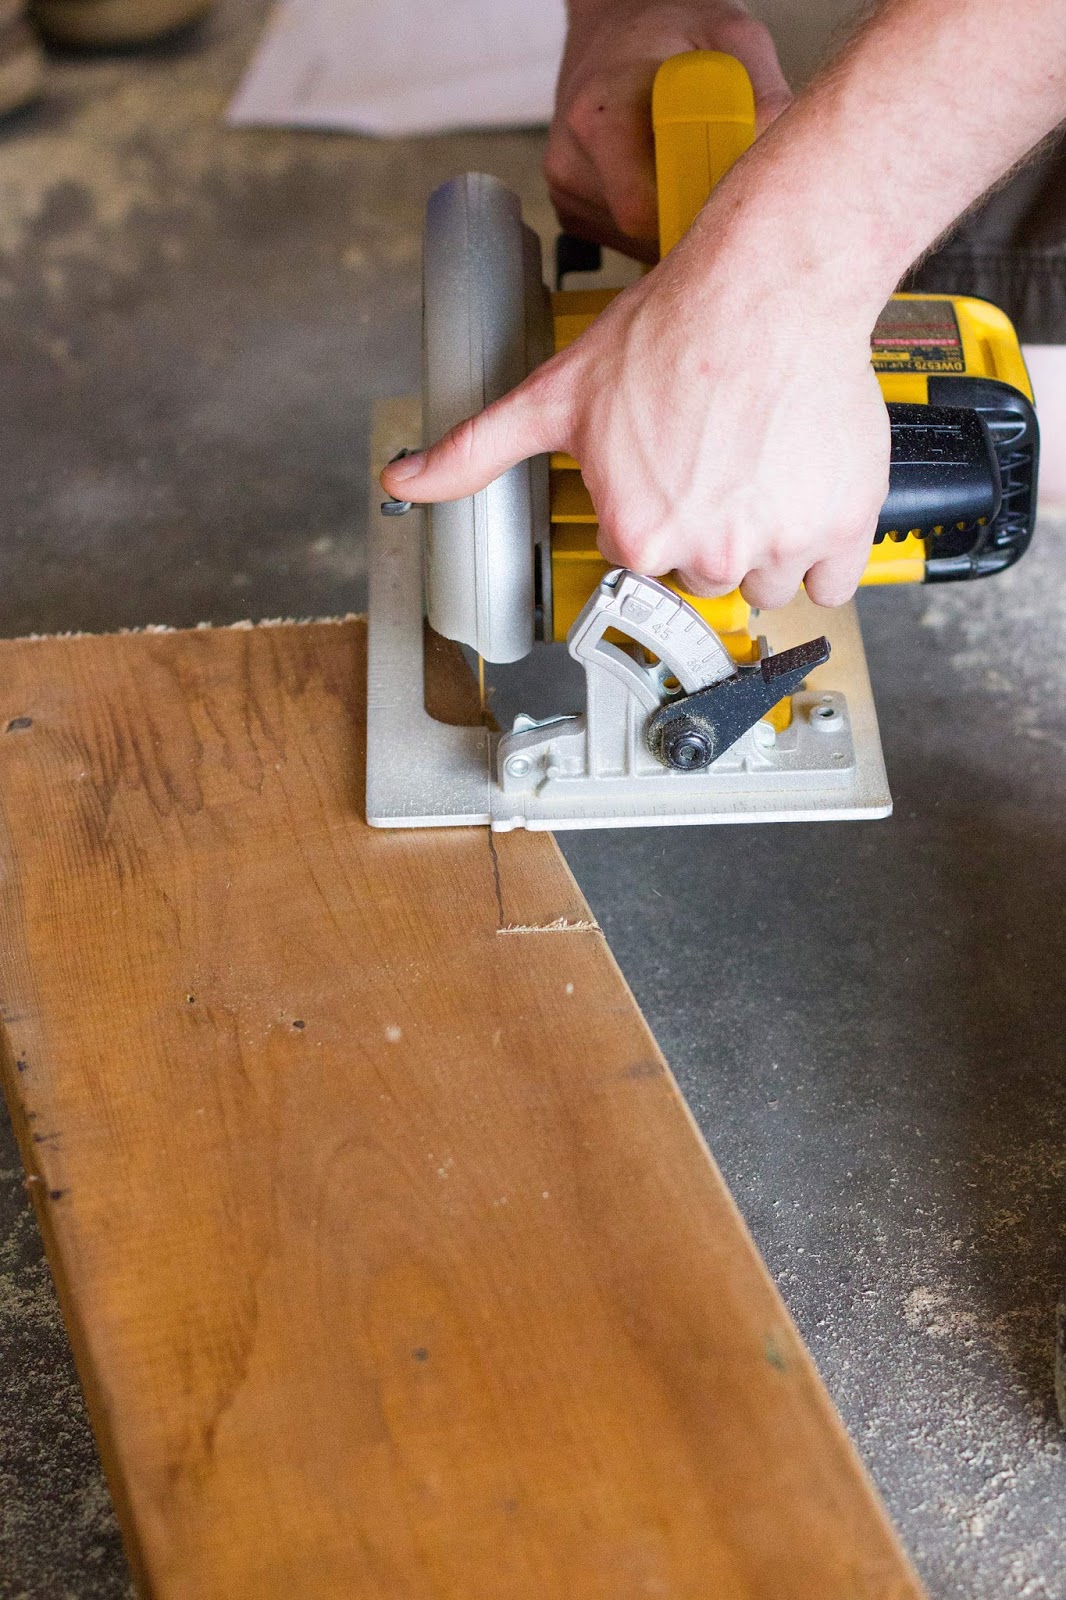
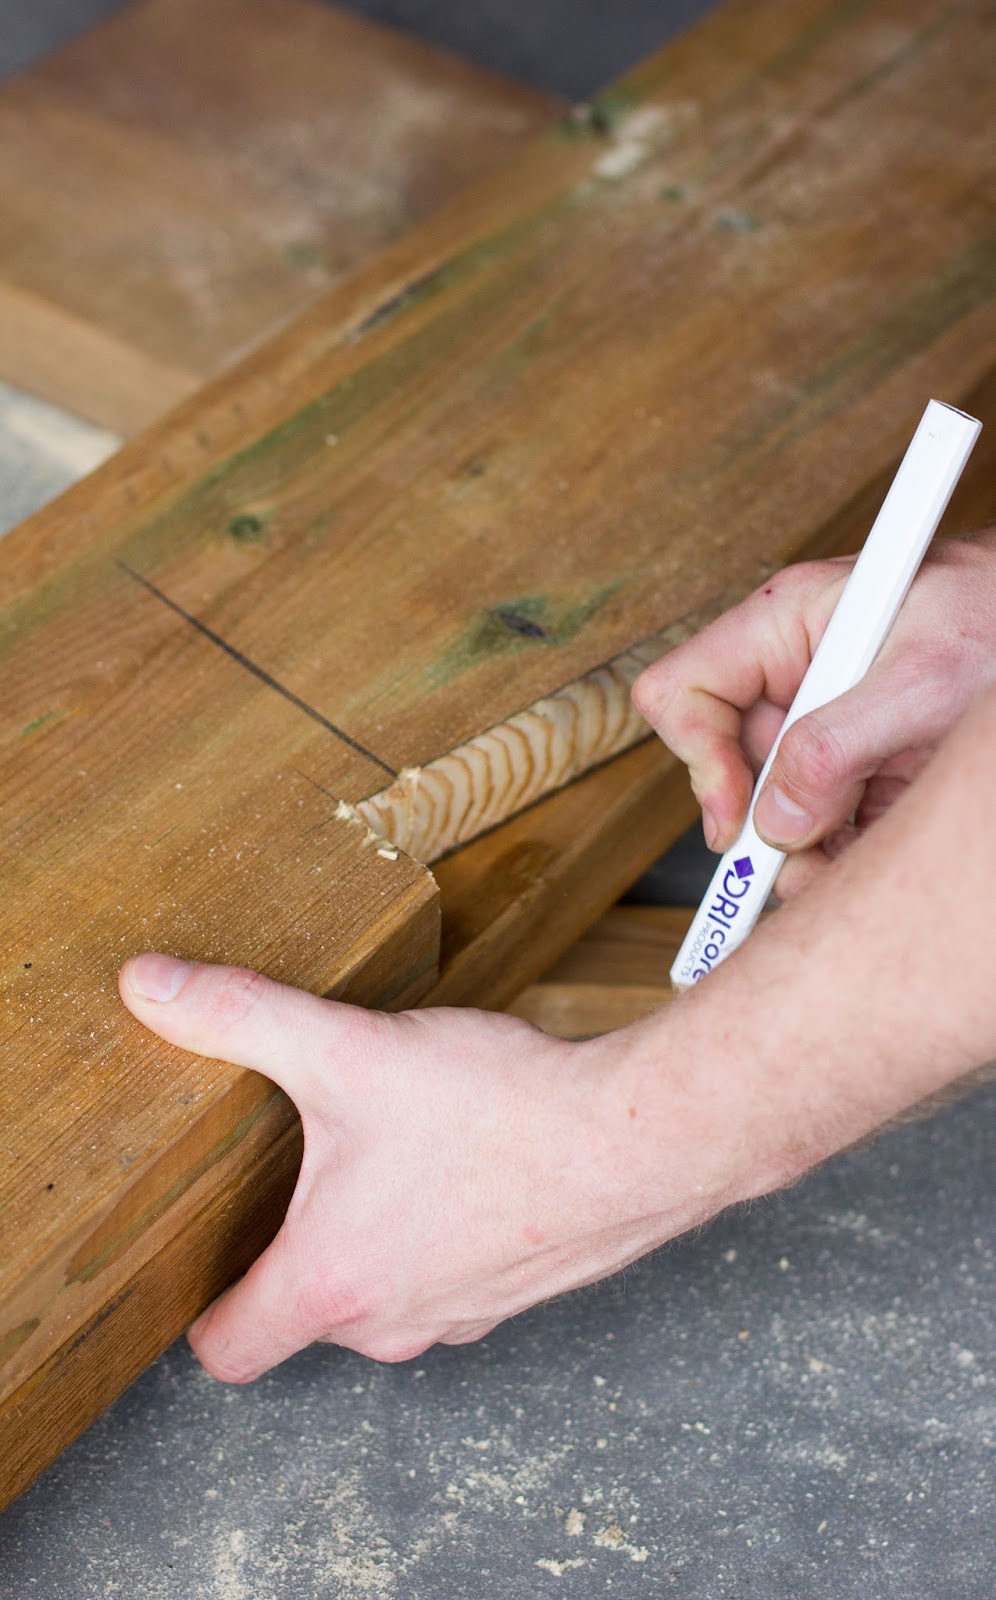
Step 5 // Cut the Roof Rafters
After cutting each rafter to the correct length, we wanted to ensure the rafters would sit securely on the headers, so we used a cut called a birdmouth (this allows the rafter to have more surface contact with the header). The ends of the rafter were also cut on an angle for a decorative touch as they would be exposed.
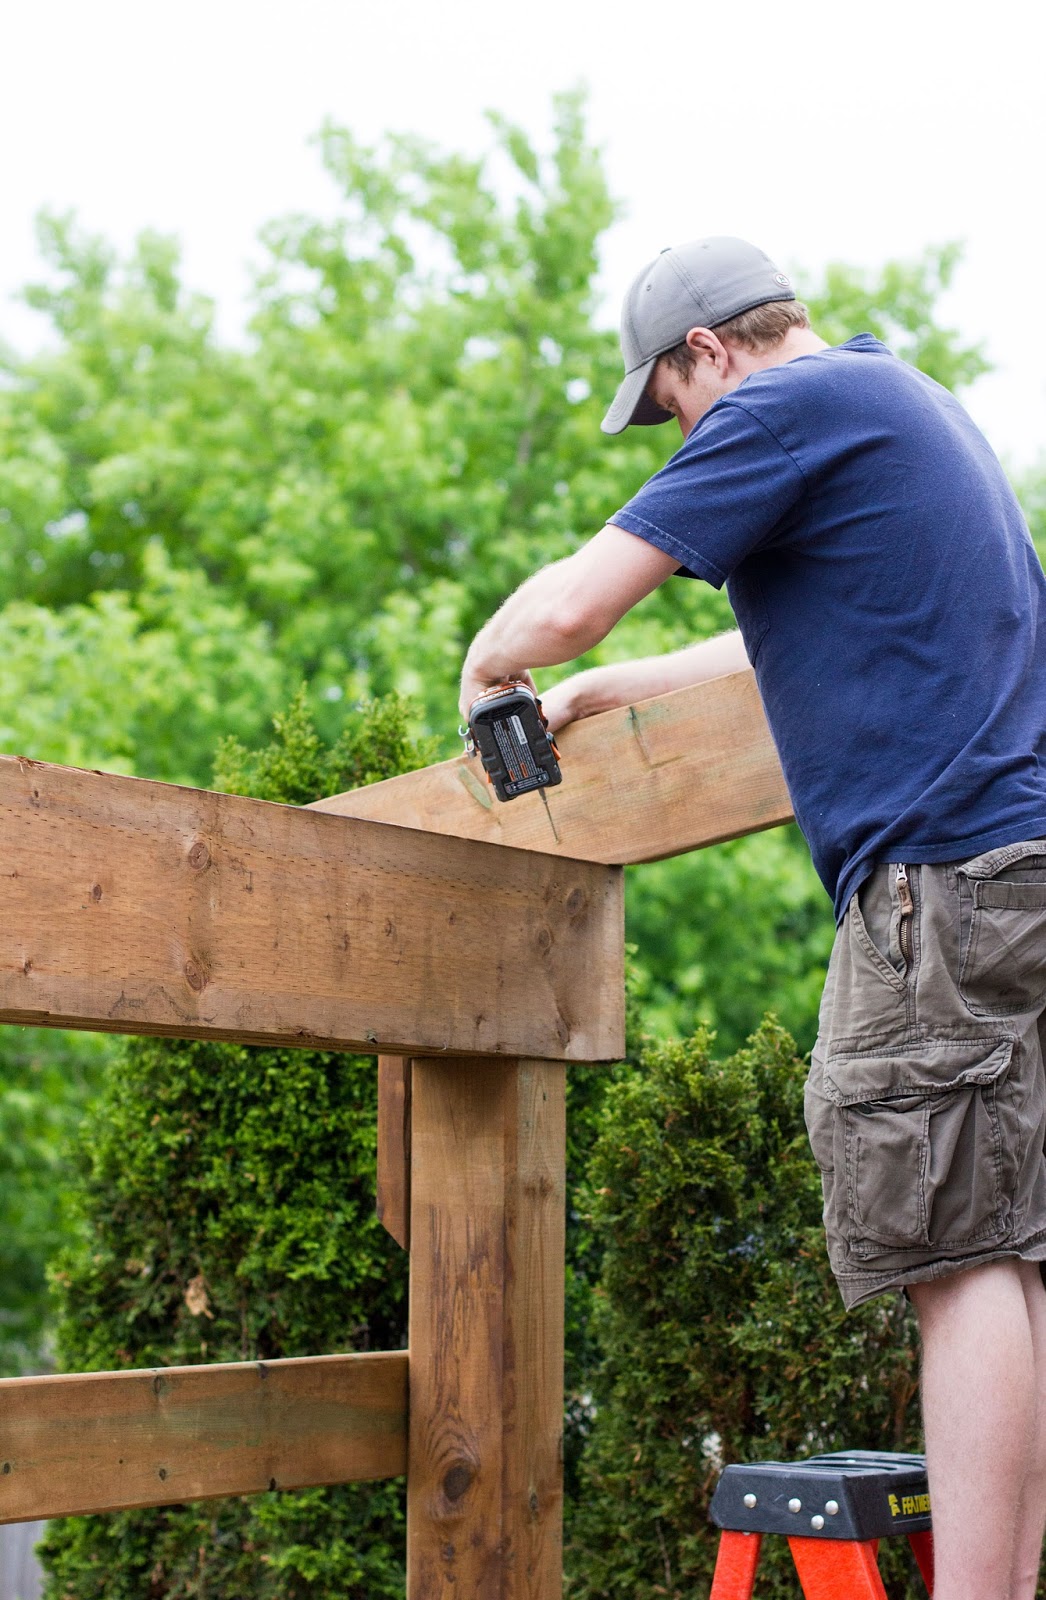
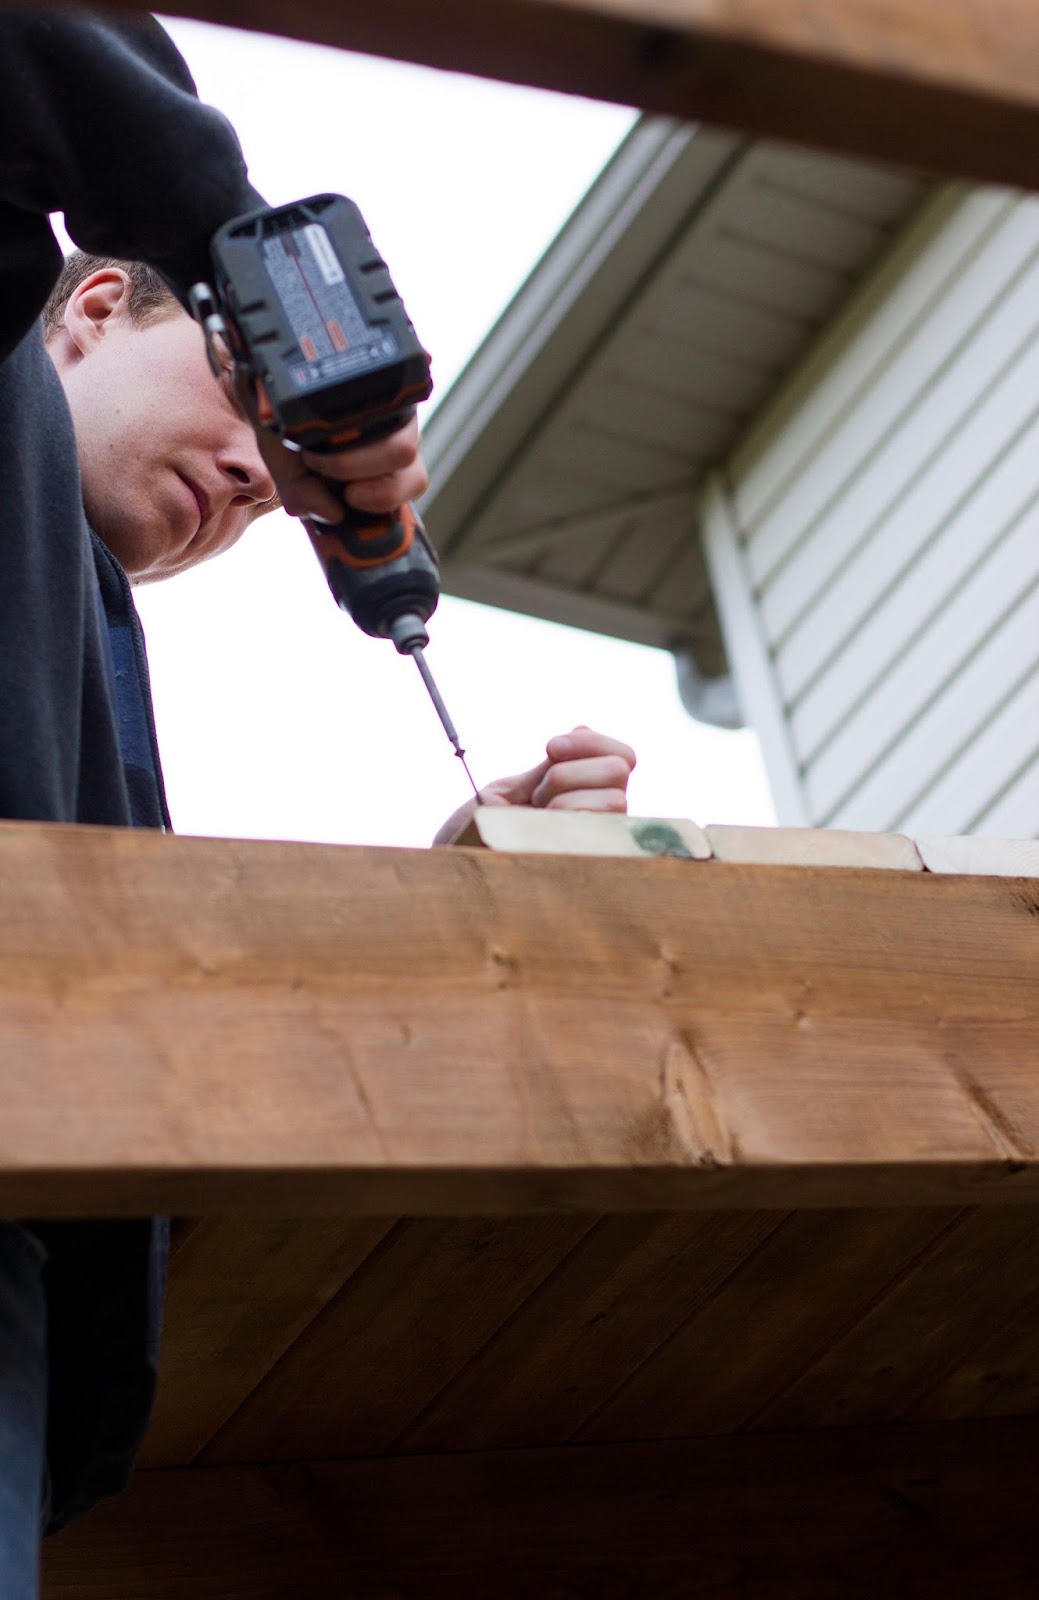
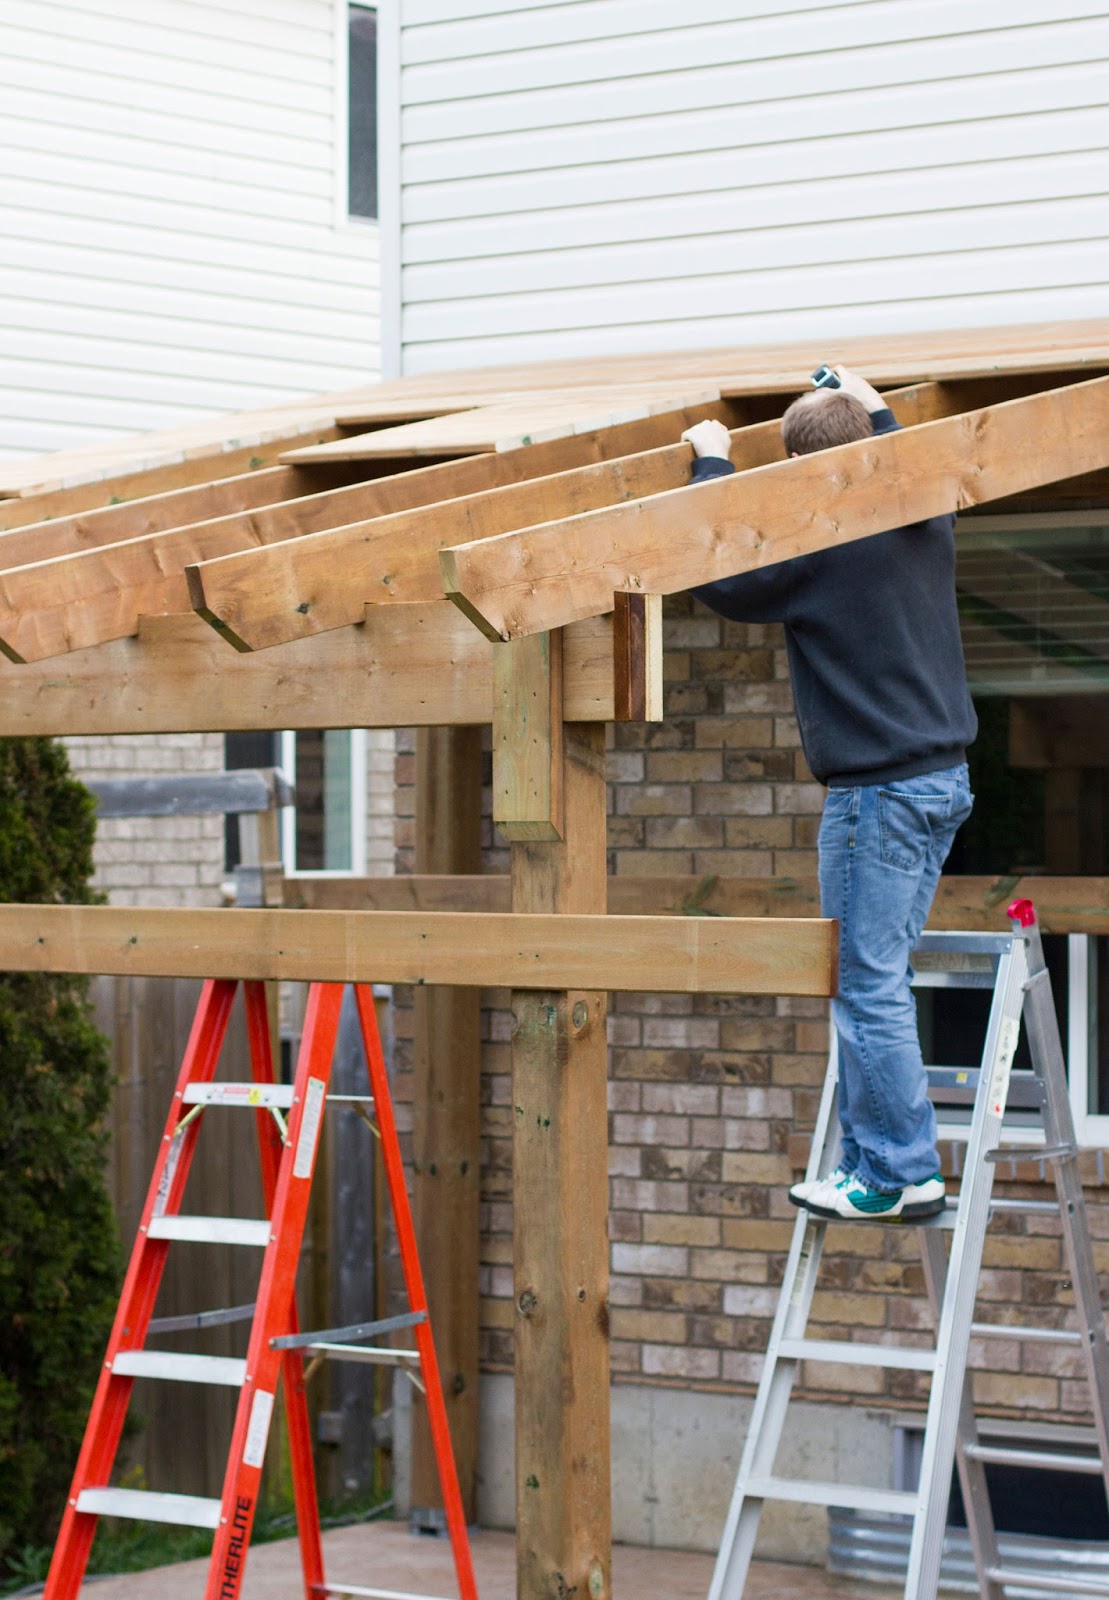
Step 6 // Install the Rafters
This step definitely involves two people because it's all about making sure the rafters are evenly spaced. Several screws are toenailed into the rafter & header on either side to ensure stability.
Step 7 // Cut and Install the Roof Boards
We opted to use deckboards for our roof vs. plywood; with the ceiling being open and exposed, we would rather see boards than plywood. Since we installed two skylights, some of the boards had to be cut shorter in order to accommodate to window. We also had pressure treat sealer on hand so we could seal the ends of the deckboards that were cut and exposed through the skylight.
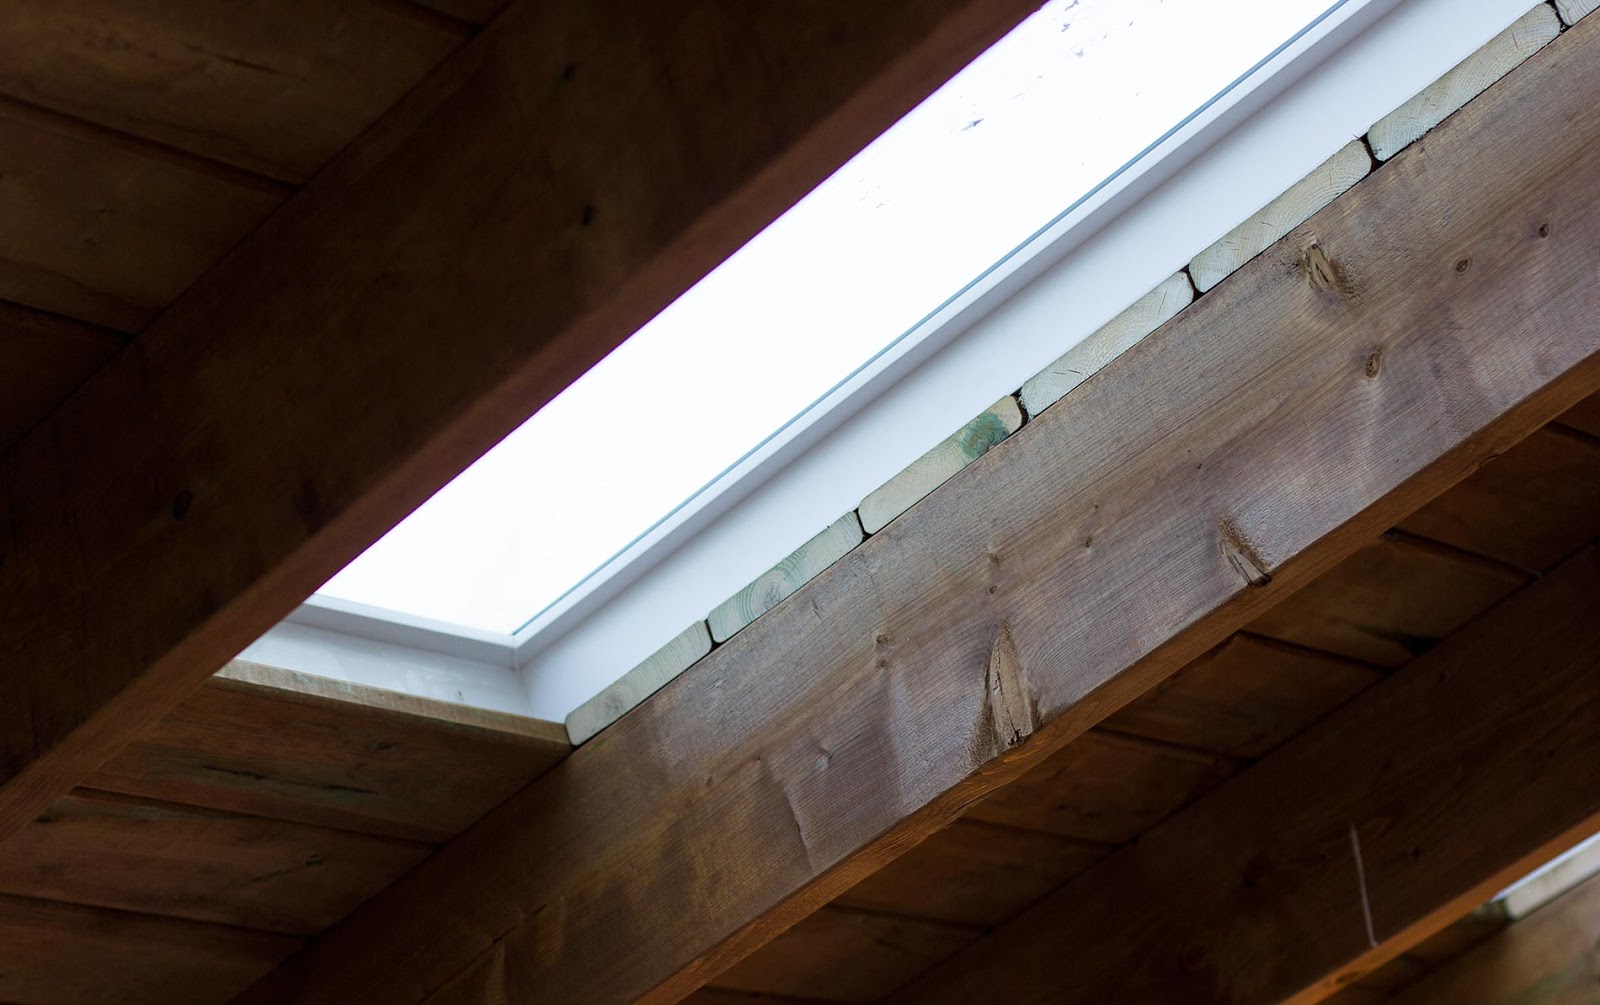
Step 8 // Install the Skylights
With the roofboards installed it was easy to slip the window into place over the hole. We followed all instructions for the skylights to ensure a tight seal.
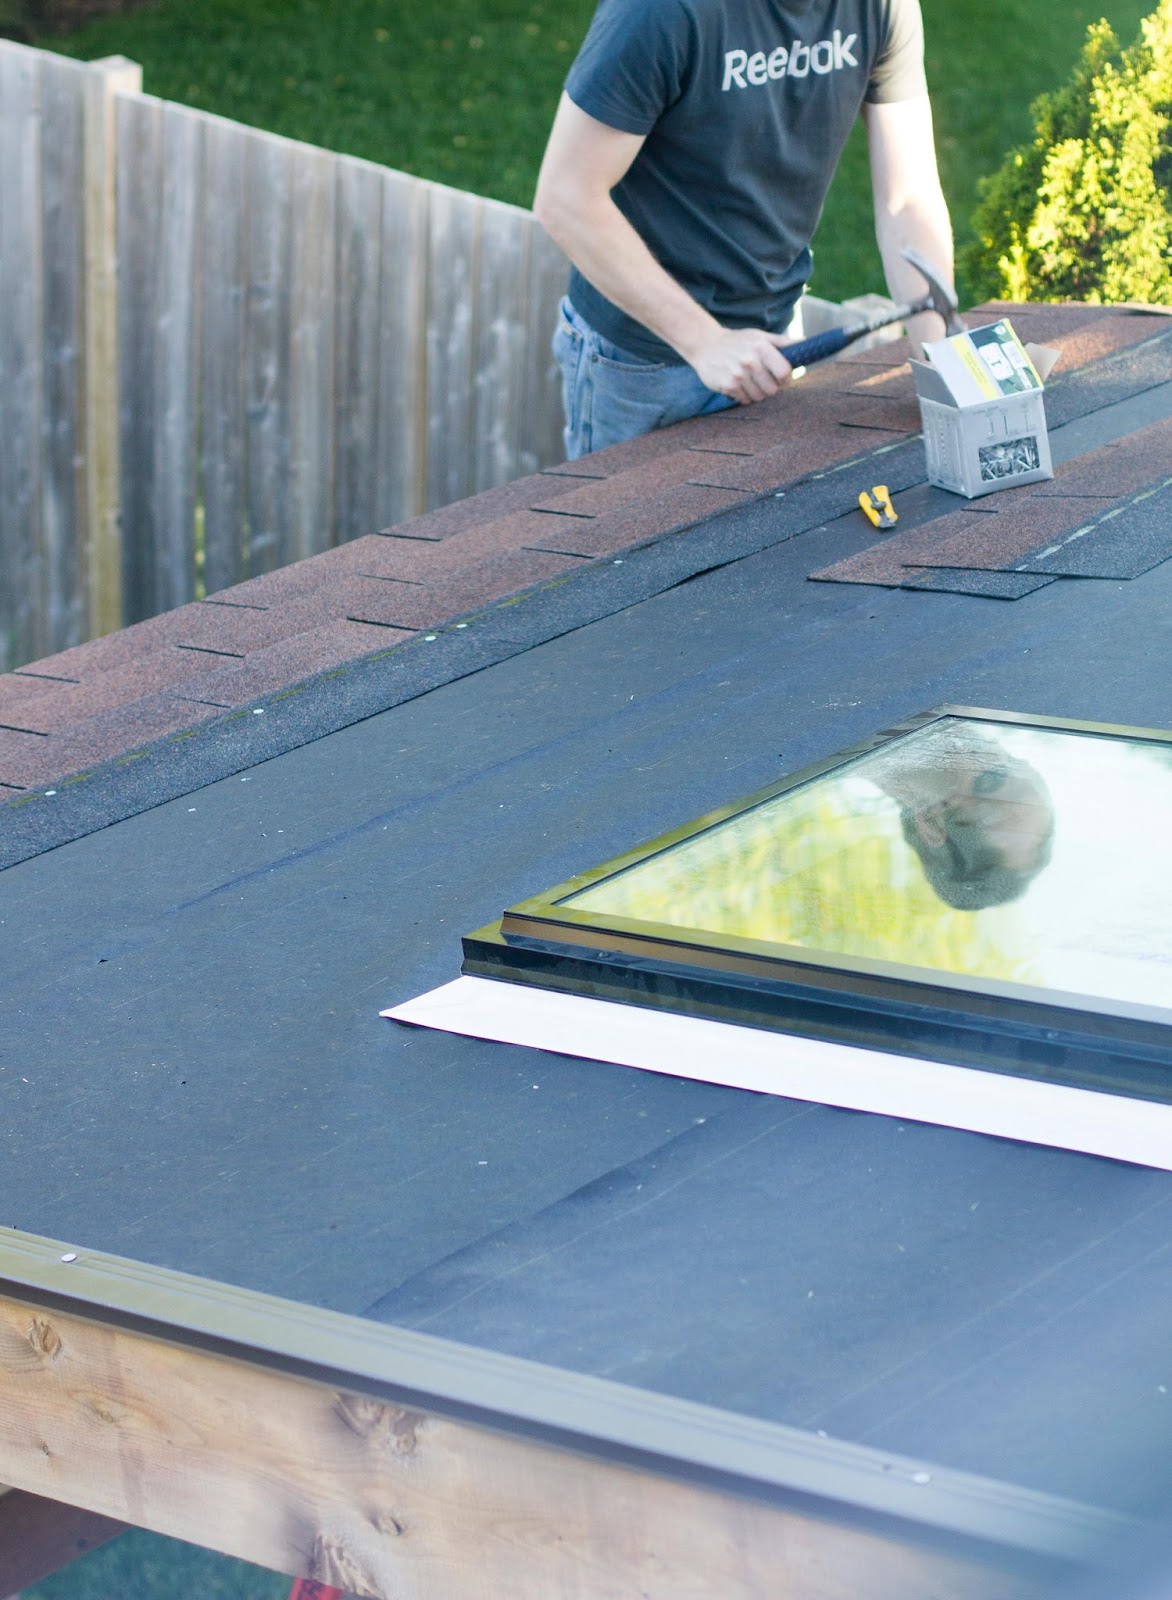
Step 9 // Lay Tar Paper & Shingle the Roof
We could have stopped there, but because we wanted the roof to be leakproof, we opted to lay tar paper between the shingles and the roof boards. It's as easy as cutting it to size and nailing or tacking in place. Shingles were then installed over the entire roof. Working from the bottom up, this took us approximately 4 hours to complete. For an excellent, detailed how-to see Home Depot's roofing guide. At this time we also installed a drip edge.
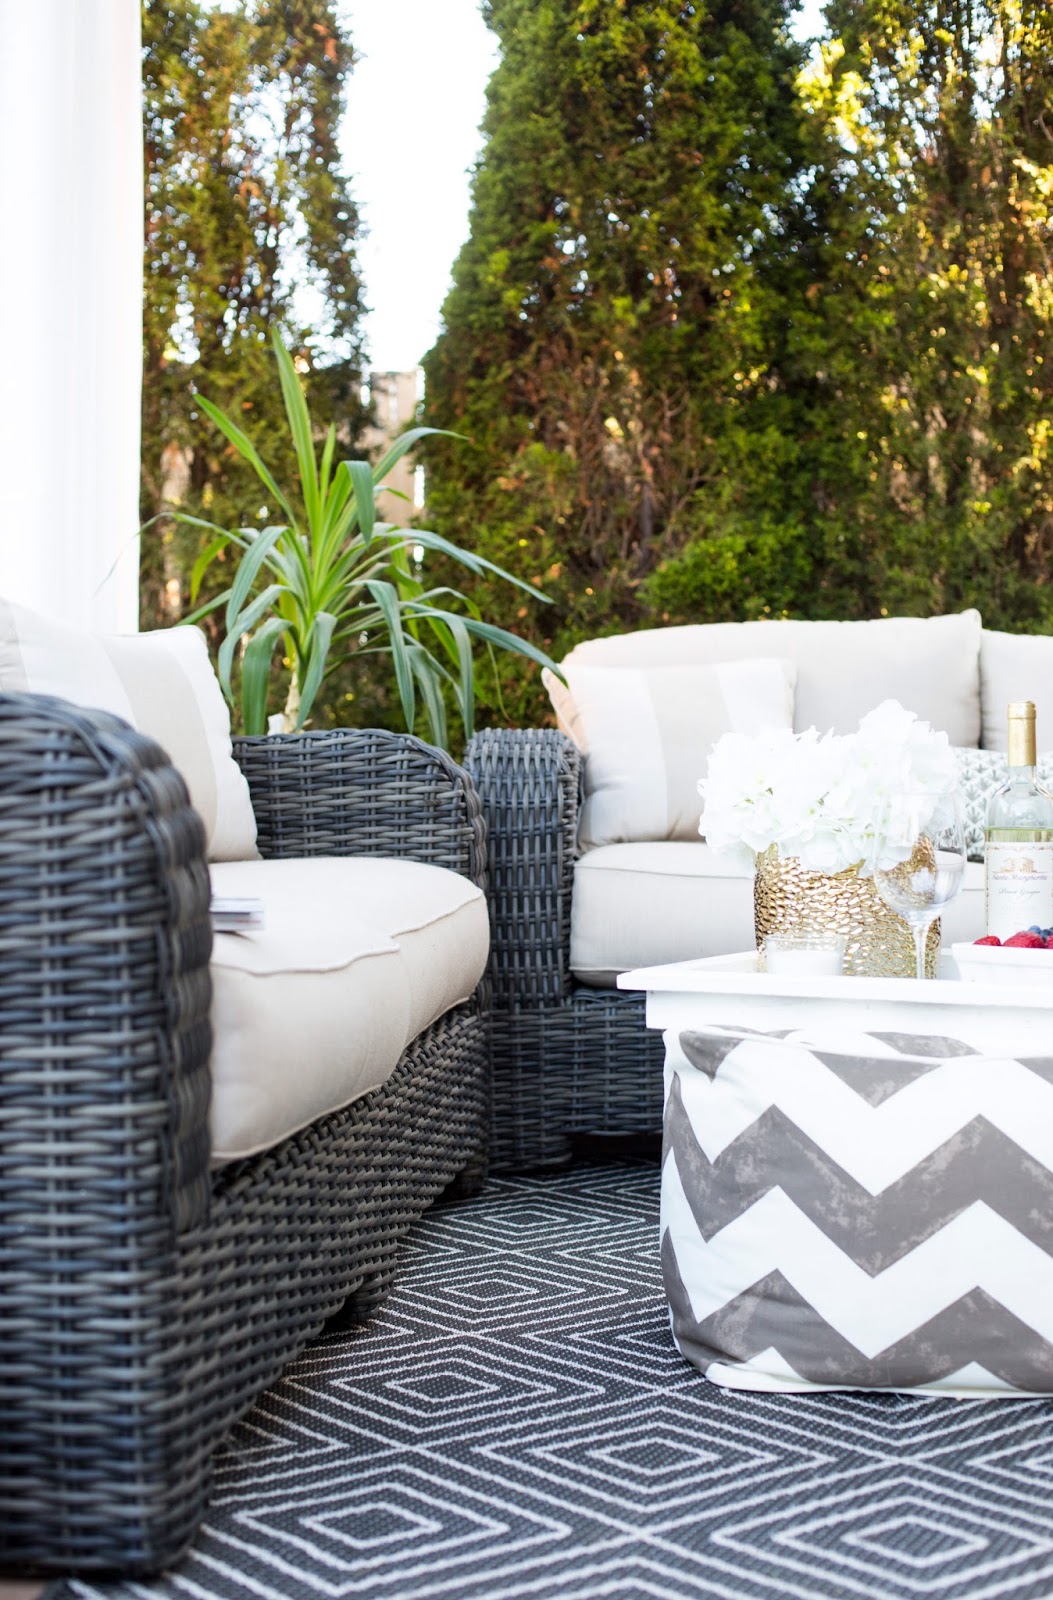
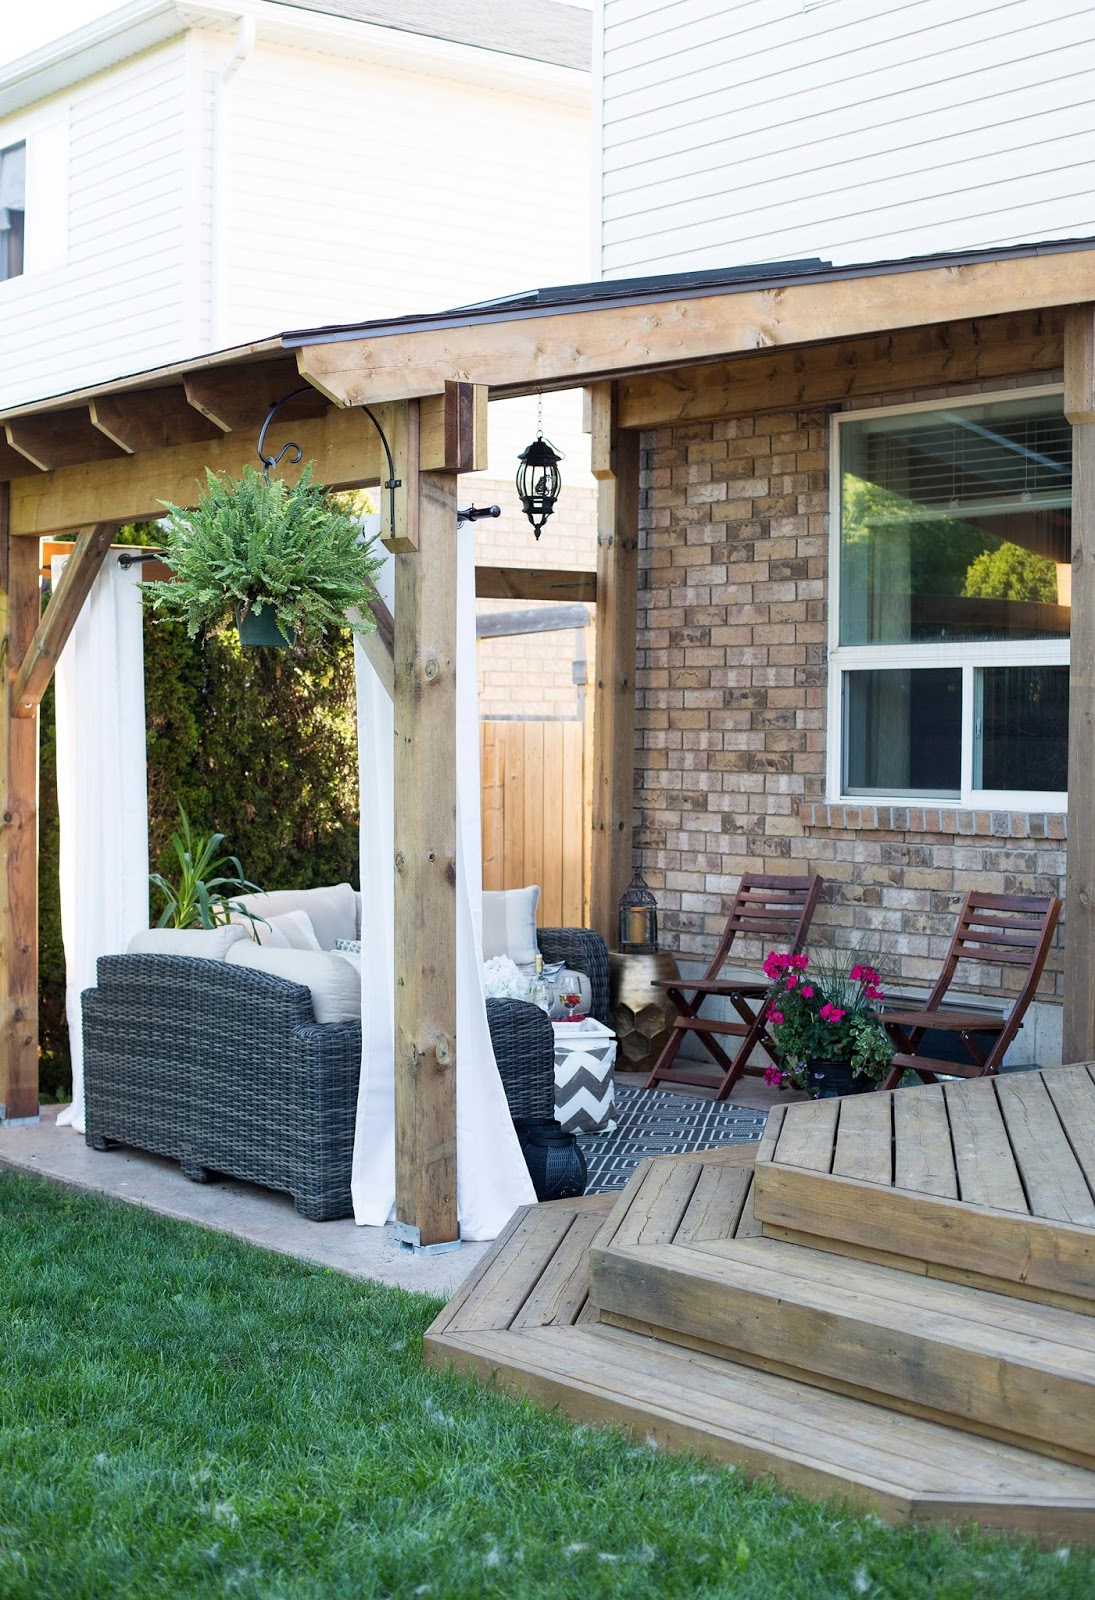
Step 10 // Accessorize and Enjoy!
I'm not going to lie, shopping and decorating was the best part of this project! Big loveseats and simple chairs allow for lots of seating, while an area rug ties the space together. Large curtains work to keep the morning sun out when lounging, and bright pink flowers bring a touch of the outdoors "in." Soooo relaxing!
// Project Breakdown \\
For those of you who are interested in the materials breakdown of this project, you can find everything listed below. The number of products may vary for you, depending on the size of your covered patio.
- 2 x 6 x 6 x 8′ Chamfered Treated Wood in Sienna (front columns)
- 2 x 6 x 6 x 10′ Chamfered Treated Wood in Sienna (back columns)
- 6 x 2 x 10 x 12′ Treated Wood in Sienna (rafters)
- 6 x 2 x 10 x 12′ Treated Wood in Sienna (headers)
- 2 x 1/2″ 4 x 8 Pressure Treated Plywood in Sienna (for laminating header)
- 1 x 2 x 6 x 8′ Treated Wood in Sienna (ties the header to the columns)
- 1 x 4 x 4 x 8′ Treated Wood in Sienna (corner support beams)
- 4 x Marquis Wmax Autumn Brown Shingles
- 1 x Asphalt Felt Type 15
- 3 x Roof Edge Flashing – Brown
- 28 x 5/4 x 6 x 12′ Treated Wood Decking in Sienna (roof boards)
- 4 x Papc 5/8×4-1/2 Wedge Anchors
- 4 x Z-Max 6 Inch x 6 Inch Adj.Post Base
- 1 x 8×3 Cedar Deck Screws
- 1 x Cut N Seal Pro Guard
- 1 x 1″ Roofing Hot Galv 10GA 1.5kg
- 2 x Fixed Self Flashing LoE3 Clear Glass Skylight – 2 x 4 Ft
- 2 x 16 In. Swirl Plant Bracket
- 1 x Exterior Hanging Lantern

Looking for more #HDBlogSquad project inspiration? Check out the other talented bloggers that are a part of the squad:
- Tim from DesignMaze
- Jen from Rambling Renovators
- Shannon from AKA Designs
- Lena from Listen to Lena
Looking for more beautiful pictures of this outdoor living area? Check out my Reveal Post!
Disclosure: I was provided with a gift card from The Home Depot in order purchase supplies to complete the this HDBlogSquad project.

Just a newly thirty year-old designer blogging about design, art, house, food, work and of course {this complicated thing called} life.
How to Build a Lean to Patio Cover
Source: https://brittanystager.com/2015/06/hdblogsquad-how-to-build-a-covered-patio/